


How To Install MF Ceilings
The Simple Guide To Installing An MF Ceiling
By Adam Finnegan | | Category: MF Ceilings
MF Ceiling Installation – Quick Start Guide
Need the full version? Jump to full step-by-step instructions
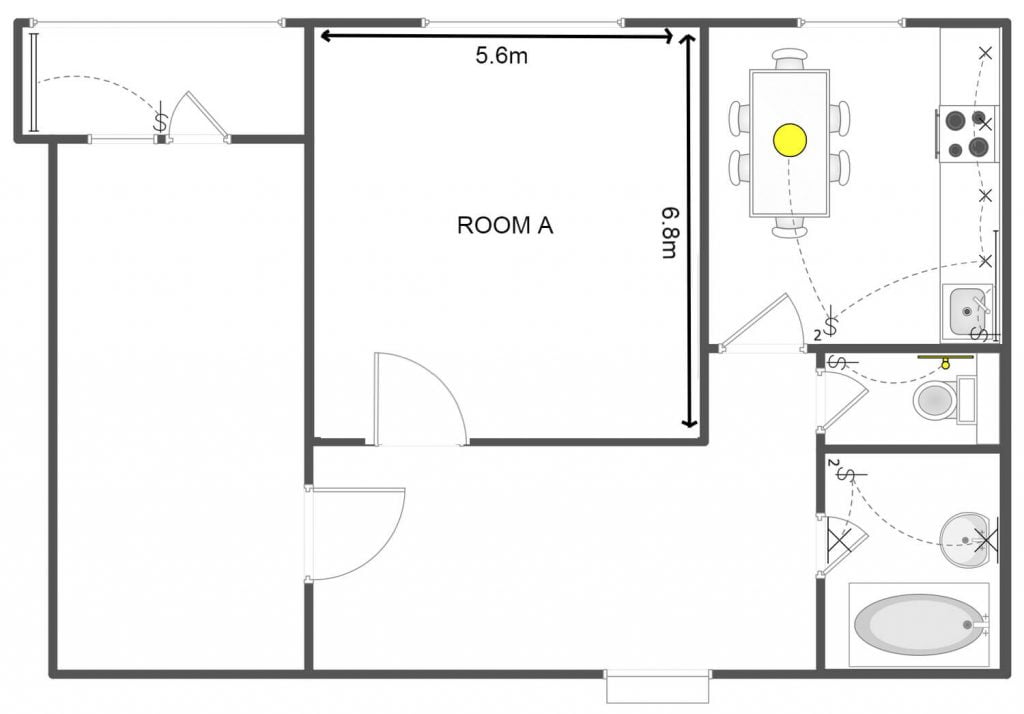
- Measure & Plan: Measure the room’s perimeter and decide ceiling drop height.
- Install Perimeter Trim (MF6A): Fix around all walls at the chosen ceiling height.
- Install Hanger Angles (MF17): Cut to size and fix at 1200mm intervals using brackets.
- Add Primary Channels (MF7): Span across hanger angles and fix securely.
- Fix Furring Sections (MF5): Run perpendicular to primary channels at 400/450mm centres.
- Board & Finish: Secure plasterboard to furring sections using drywall screws.
Full Step-by-Step Guide To Installing An MF Ceiling
Step 1: Measure and Plan
Measure the perimeter of your room and choose the drop from the original ceiling to your new MF ceiling. This determines the fixing point for the perimeter trim.
Step 2: Install Perimeter Trim (MF6A)
Fix the MF6A edge trim around all walls using suitable fixings every 600mm. Use hammer fixings for block walls or drywall screws for stud walls.
Step 3: Install Hanger Angles (MF17)
Cut MF17 hanger angles to the drop length. Mark out a 1200mm x 1200mm grid on the ceiling. Fix each hanger angle using MF11 bolts or acoustic hangers where required.
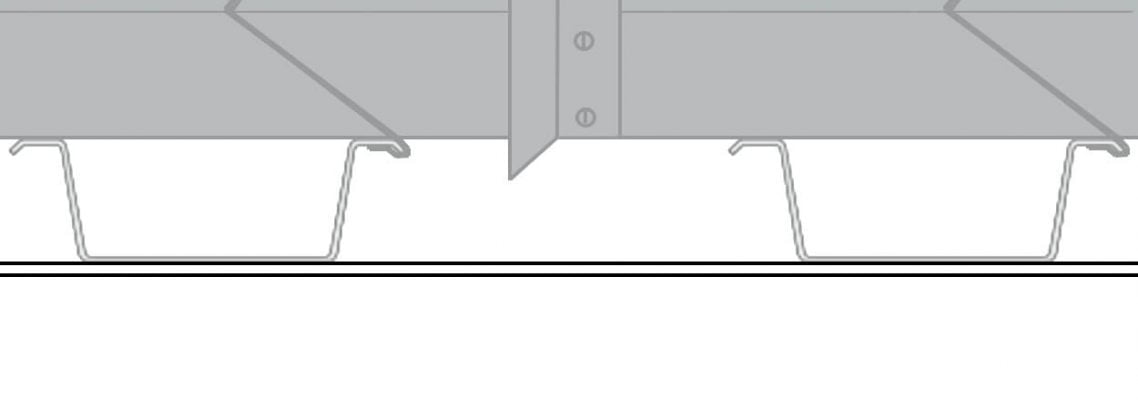
Step 4: Fix MF7 Primary Channels
Cut and install MF7 primary channels to rest across hanger angles and on the MF6A trim. Secure them with wafer head screws.
Step 5: Add MF5 Furring Sections
Fix MF5 ceiling sections perpendicular to MF7 at 400–450mm centres, based on board size. Use MF9 clips and screws to secure.
Step 6: Overlap and Extend
Where needed, overlap MF5 sections by 150mm and screw together. Slot ends into MF6A trim and secure all connections properly.
Step 7: Install Plasterboard
Fix plasterboard to the underside of MF5 sections. Stagger joints. Use drywall screws and maintain correct edge spacing (13mm from cut edges, 10mm from bound edges).
Back to top? Return to Quick Guide
Find all components mentioned in this guide available to order at the foot of this page.
MF Ceiling Components List
Metals
Fixings
Need help choosing the right components? Call us on 01253 864902 and our experts will guide you.
Install your ceiling system today with MF-Ceilings.co.uk.